INGREDIENTS AND FEEDING SCHEDULE
Day 1
45 grams organic wheat flour
5 grams organic rye flour
40 grams water
Day 2
45 grams organic wheat flour
5 grams organic rye flour
40 grams water
Day 3
100 grams organic wheat flour
80 grams water
METHOD
Day 1
Mix 45 grams organic wheat flour, 5 grams organic rye flour and 40 grams water together and set in a bowl. Cover loosely and set in a warm location.
Day 2
Mix together 45 grams organic wheat flour, 5 grams organic rye flour and 40 grams water together and add to the previous day’s mixture. Mix together. Cover loosely and set in a warm location.
Day 3
Mix together 100 grams organic wheat flour, 80 grams water and add to the previous day’s mixture. Mix together. Cover loosely and set in a warm location.
Day 4
You should have a bubbling, active culture ready for baking. If not, repeat step 3 until you do! Once it is ready you can either use it to back with or store in the fridge for up to a week.
MAINTAINING A SOURDOUGH MOTHER CULTURE
Your sourdough mother culture can be controlled to operate around YOUR schedule. By manipulating and controlling time, temperature and the type and quantity of flour you use to feed it, you can ensure that it is ready for baking every time you need without any hassle. At home I typically bake once a week and this is how I maintain my mother so it is always ready each time I bake:
- Take the jar of mother from the fridge. If I maintained properly it should be ready to bake with right away.
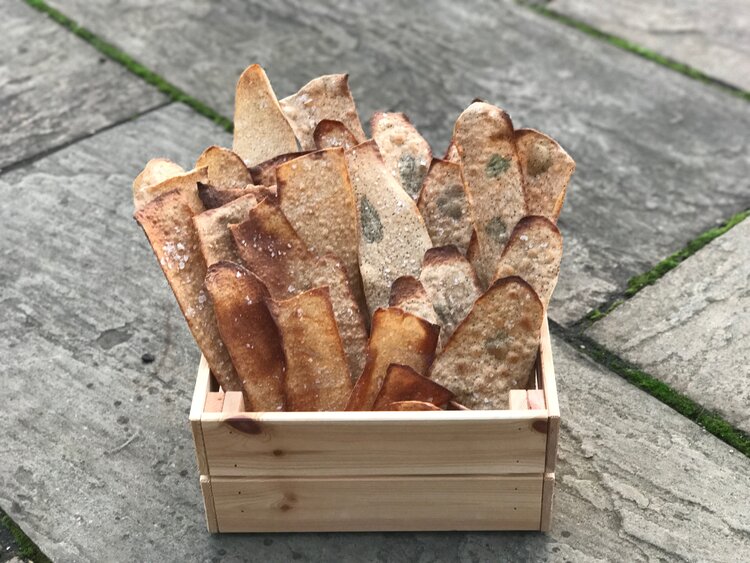
- Remove all the contents of the jar and clean the jar. Divide the contents into three bowls — the mother I am reserving to keep the mother culture going, the mother I am going to bake with, the remainder that I will use for another purpose such as sourdough pancakes or sourdough crispbreads.
- Mix together 250 grams of white flour, 200 grams water, 50 grams reserved mother culture. Fill jar with mixture, cover loosely and let it ferment at room temperature for 12-16 hours. After this period it is ready to use immediately or, it can be stored in the refrigerator and used any time for up to a week before it needs to be refreshed.
This schedule allows you the freedom to use the culture at a moment’s notice! Follow the steps above to refresh the mother and use the overripe culture for sourdough pancakes or crispbreads or another application. If you let it go long enough that a greyish, acetic smelling and tasting liquid (hooch) appears on the surface pour the liquid off. Don’t worry, chances are the mother culture isn’t dead – it just needs a little TLC to nurse back to life. At this stage it may take one or two refreshings of the mother below to get the culture back to full strength and optimum flavor.


Note: Each time you refresh your mother culture it will take between 12 to 16 hours to mature to the point it is ready to leaven bread. If you want it to mature faster you can increase the amount of culture you use to inoculate the new mother or slightly increase the temperature by allowing it to mature in an oven with the pilot light on (just make sure to keep the same proportions of flour and water – this recipe is for an 80% hydration mother). You can also feed the mother with a more nutritious flour such as whole wheat which will provide it with more nutrients allowing to mature more quickly. I intentionally use white flour to feed and maintain the mother because I usually only bake once a week and the lack of nutrition in the white flour slows down the fermentation and it is easier to control for my schedule. Bear in mind that each of these options also impacts the flavor and final outcome of the bread. Record what you do each time so you know what actions produced the various results so you can replicate them or avoid them in the future.SCHEDULE A CALL

 It’s Time to Redefine Food
Leave a Reply